
How to take the best photos of the Northern Light
Photographer Kamilla Lund has been taking pictures of the northern lights for many years, here she gives you the best tips on how to capture the wonderful phenomenon.
The photographer’s tip
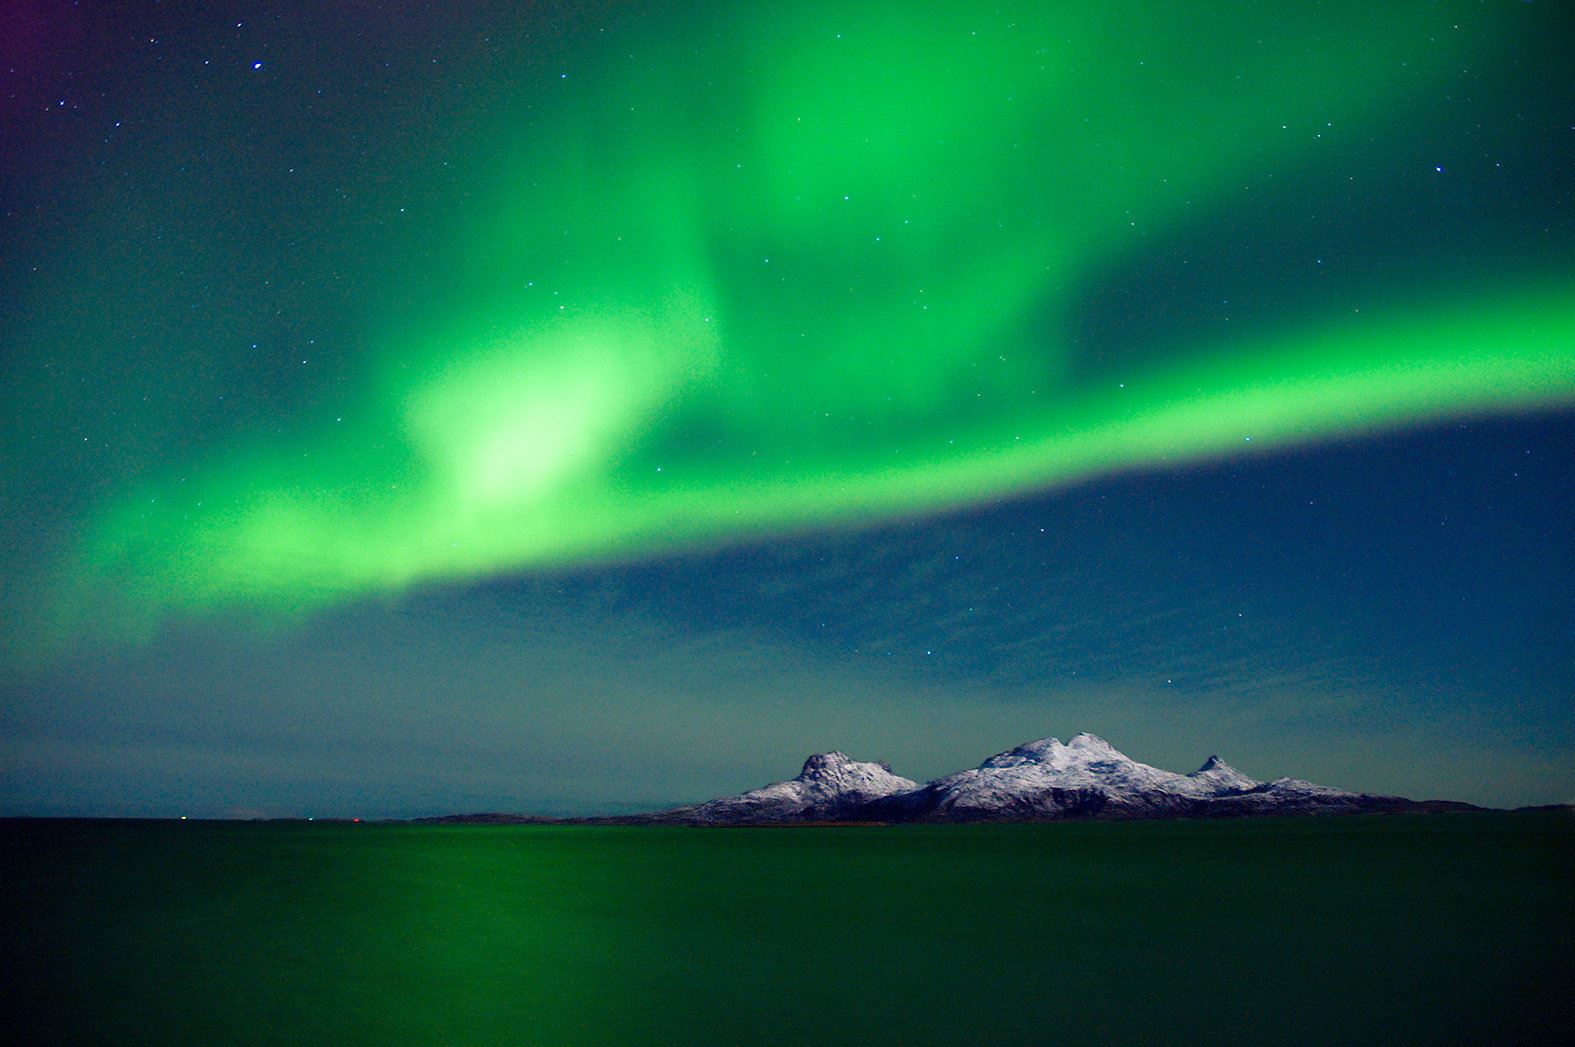
The Northern Lights is an amazing sight, even if you are a tourist seeing it for the first time, or a local seeing it for the thousand time. Many want to eternalize the magic light, but it is not always easy to get it on camera.
Tip 1: What you need for the Northern Light photo session
You don’t need the most expensive camera or objective to take photos of the light. I myself started with a low budget Canon camera. I also used the objective that came with the camera. But there are others important things you should to think about:
- A camera that you can set manually.
- A steady camera tripod, or a solid surface that you can put the camera on. It is very important that the camera is not moving at all when you are taking pictures of the light.
- Remote switch – either a remote or a camera with a self-timer. You should not touch the camera when you are taking pictures. Even the smallest movement can give blurry images in the dark.
- If you have the opportunity to choose, you should definitely have a wide-angle objective. For example, a 14 mm and preferably one that can take in a lot of light, like f2.8. You will also get a long way with 24mm and f3.5, which is the standard on most objectives that comes with the camera.
- Headlight
- Crampons or studded shoes
 Zdeno Dvorak
Tip 2: Where you should go
You should take the photos at a place where there are no street lights, cars or other disturbing lightning. It can also be smart to plan a motive in daylight, like for example a bush, a large rock or maybe an abandoned house. Motives makes the photos more exiting, and it gives a great depth. Mirroring in surfaces, like water, will lift the photo to another level.
Remember to dress well. You will need warm shoes, wool and preferably a wind proof jacket.
The best places to see the Northern Light
Tip 3: Make a camp and be patient
It is important to be patient when waiting for the Northern Light. Bring food and something warm to drink. If you are waiting on the light by a bonfire, be aware of shadows of the camera or yourself. It is not fun to get home and see the shadow of the tripod in an otherwise perfect picture.

Tip 4: Camera settings
Read the instruction book that came with the camera, or at least read about the terms below to get a better understanding.
Test different aperture setting, shutter speed and ISO. They are all affecting each other, and practice makes perfect!
Aperture
The aperture value, or the f-nr, gives the size of the aperture. In the menu it can look like this f:1,4 – f:2 – f:2,8 – f:4 – f:5,6 – f:8 – f:11 – f:16 – f:22 – f:32.
When we are photographing the Northern Lights, we want a wide aperture opening, this way we get as much light as possible in the objective. Low numbers means wide opening.
Shutter speed
This is the time it takes to expose an image. One to 30 seconds are recommended but try to keep the shutter speed as low as possible. This will best “freeze” the movement of the Northern Lights.
Long shutter speed can make the lights blurred. If the light is standing still, you can use up to 30 seconds, and a low ISO. Be prepared that the stars can be blurry because of the rotation of the Earth.
ISO
This setting is about photosensitivity. When the Nothern Lights are flaming on the sky, it is usually completely dark outside.
The newer and more expensive the camera is, the higher ISO you can use. Older and cheaper cameras can’t handle more than 1600 ISO before it will be blurry. If there are a lot of activity on the sky, moonlight and snow, you can use a low ISO.
White balance/Kelvin
The auto setting works great in most cameras. If you take the photos in RAW and have an editing program, for example Lightroom, you can change the Kelvin.
If the photos are too yellow, it is usually because of the wrong white balance.
Focus
Put the focus on the objective on “MF manual”. Most objectives have an infinite point, that looks like a lying number eight. This is usually very exact, but you can test it out in daylight to be sure. There can be some millimeters in difference.
Mark where your object has “infinite” with a tape or something else. This way, you won’t have to set it every time you want to take photos of the Northern Lights.
If you have “live view” on your camera, you can also use that to find the right focus.
Image stabilizer
If your objective has a stabilizer, then you should turn it off. It can make the photo worse by long exposures.
Do not give up if the Northern Light does not show on the first night! There are many apps that alerts you when the Northern Lights are coming. Our best tip is to go out and look for yourself, on a dark and cloudless evening. Suddenly the sky explodes with magic lights. It can last from as little as one minute, to as long as many hours.
NB! If you don’t have a camera, you can use your phone camera as long as the northern lights are calm. You must then switch on night mode and place the phone on a stable surface.
Was this helpful?
Thank you for your feedback!
Thank you for your feedback!
We are reading all feedback, but unfortunately we can not respond.